Forum Index > Official Games and Contests > Fortune Festival 2016 - Egg Design
Page 3
1, 2, 3, 4, 5
Go to Page:
Author
Thread Post
Wander
Level 74
Trickster
Joined: 3/8/2015
Threads: 46
Posts: 1,253
Posted: 3/21/2016 at 3:06 AM
Post #21
My attempt at a Blue Lotus Aeridini egg design.
Reference:
Progress photos and finished product:
Not 100% happy but I'm not a particularly artistic person so I'm pretty pleased all things considered :D
Edited By Wander on 3/21/2016 at 3:07 AM.
Dunno
Level 66
Benevolent Brewer
Joined: 1/4/2016
Threads: 37
Posts: 1,629
Posted: 3/21/2016 at 6:07 AM
Post #22
I did the first part at school... So it looks really complete.
The part I did at school...
The coloring in...
Adding crosses cause I'm Christian and Jesus is kind of why we celebrate easter.
First time, thank the gods I got materials in school. That is the only reason I even got a chance to participate in something like this.
Absoluteinsanity
Level 71
Gingerbread Architect
Joined: 7/14/2014
Threads: 43
Posts: 908
Posted: 3/23/2016 at 10:54 AM
Post #23
A bit short on crafting supplies since we're moving and everything is packed up, but I thought I would try to make an egg anyway. It's supposed to be a griffi egg. :)
I hollowed out two eggs, one as a backup just in case. The insides made a delicious sandwich. ^^
Both eggs were painted with food coloring, pink with a touch of purple. The pink food coloring made an interesting red mess. Didn't think the paper with my name on it in pen was visible enough, so I swapped it out for one written in red marker.
Lacking any other sculpting material, I made the griffi embryo out of bread. The nutrient-delivery cord is a noodle. I made this a few days before preparing the eggs themselves.
I cracked open the egg a bit, put the embryo inside, and constructed a base for it by sticking pieces of crushed ice together. Dusted the whole thing with glitter, but it isn't as visible in the pictures as it is in real life.
Slightly different angle. you can see a bit of the glitter in this one.
Thanks for looking. :)
Lostwords13
Level 71
Vanquisher of Undead
Joined: 6/16/2013
Threads: 113
Posts: 2,098
Posted: 3/24/2016 at 10:03 AM
Post #24
I made an egg being guarded by its daddy :3 They are suppsoed to be a ligh and a ligh egg lol. (I may change this, as im not compeltely sure i like how this turned out...)
Found the clay at work, thought it'd be perfect for egg making! Nail art supplies=best tools for sculpting as well if you ask me. (and they make my nails look awesome, winwin!)
The base egg itself.
Starting the nest.
Eggling on spaghetti! nest! (with dad's body starting to come up on the side)
Completed front view (as you can see, the egg must be ready to hatch soon, as it rolled around a bit and squished its poor nest...)
Side profile.
Closeup of the egg.
Immortallight
Level 60
Lucky Leprechaun
Joined: 7/19/2015
Threads: 34
Posts: 684
Posted: 3/24/2016 at 6:36 PM
Post #25
I LOVE this!
Rissada
Level 75
Collector of Souls
Joined: 9/14/2013
Threads: 27
Posts: 528
Posted: 3/25/2016 at 3:36 PM
Post #26
About time I get started.
Hopefully these turn out like I want.
What do ya know? They did!
Ny'Vene egg. I'll admit, the wings are not the greatest.
Thrackerzod
Level 68
Trickster
Joined: 8/18/2013
Threads: 12
Posts: 902
Posted: 3/25/2016 at 9:30 PM
Post #27
I tried to make a paper egg...it didn't go quite as well as I had hoped it would but I'm still pretty happy with it. It is egg shaped at least! I added the little sylesti egg spots with glitter glue :)
Many many thanks to sev and Kali for helping me fix my image troubles!
Edited By Thrackerzod on 3/27/2016 at 2:09 AM.
Savynn
Level 75
Sweet Solver
Joined: 12/18/2012
Threads: 214
Posts: 4,486
Posted: 3/26/2016 at 3:25 PM
Post #28
Still not finished but decided to start adding pictures of my progress. I already have some more pictures I need to take soon.
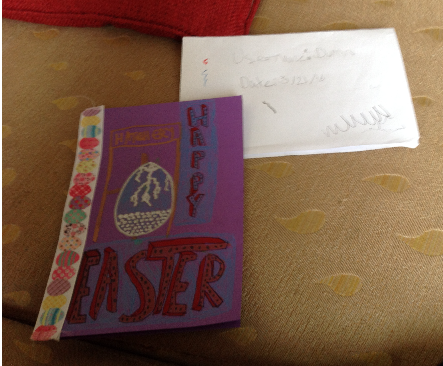
Intro
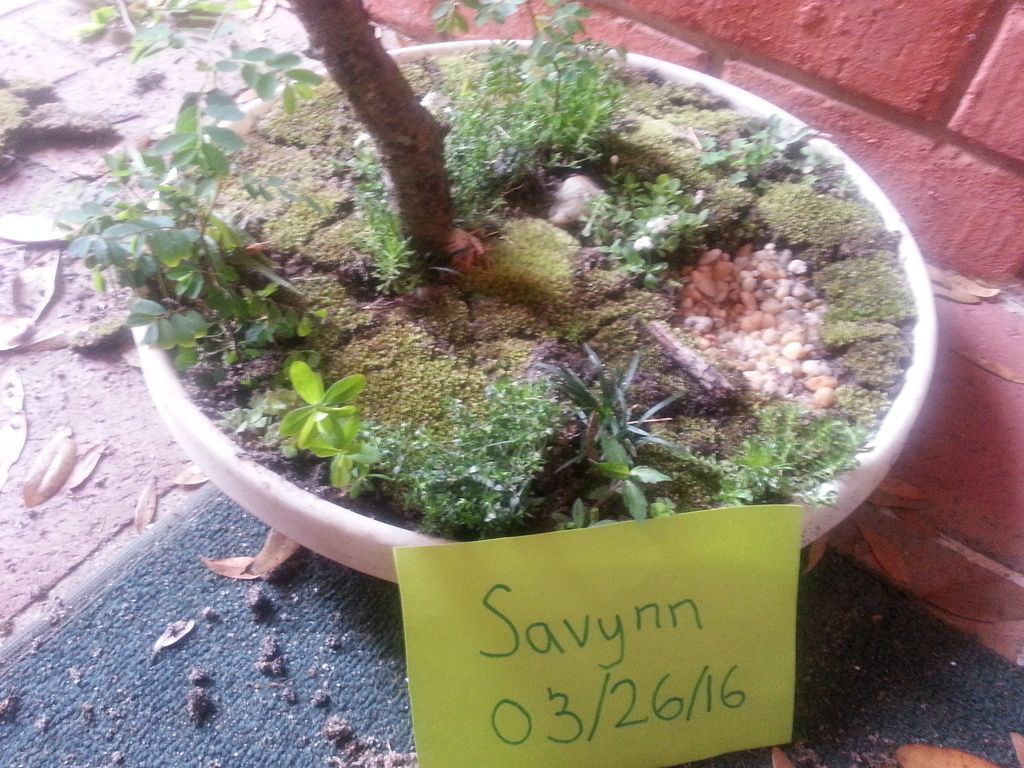
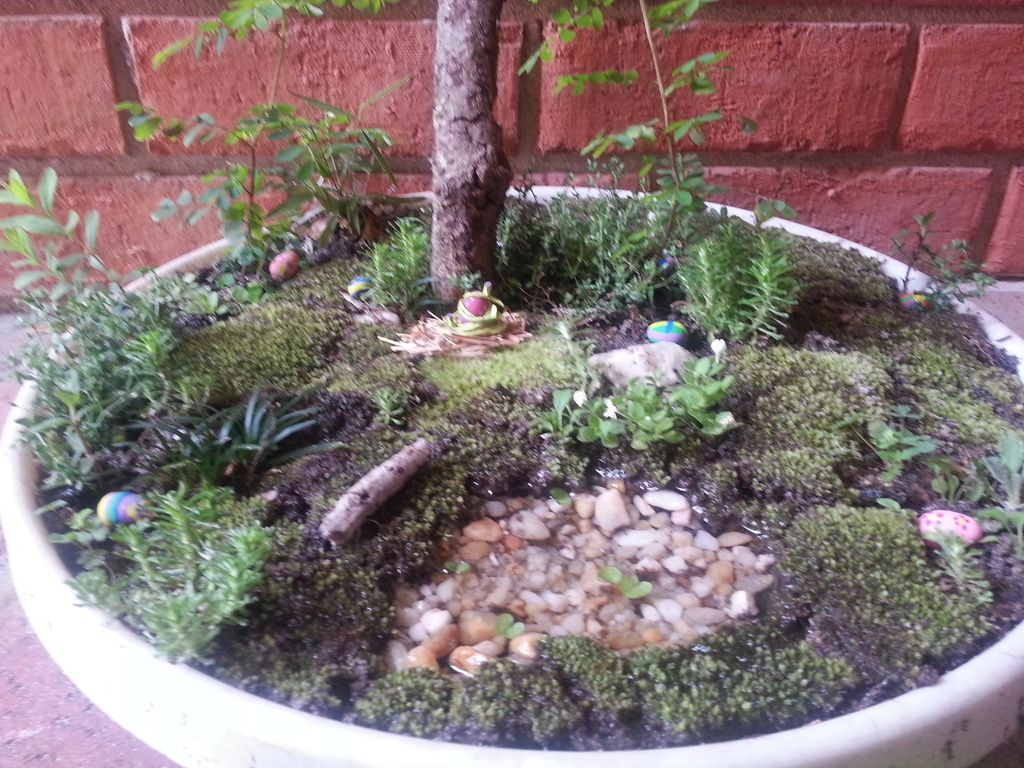
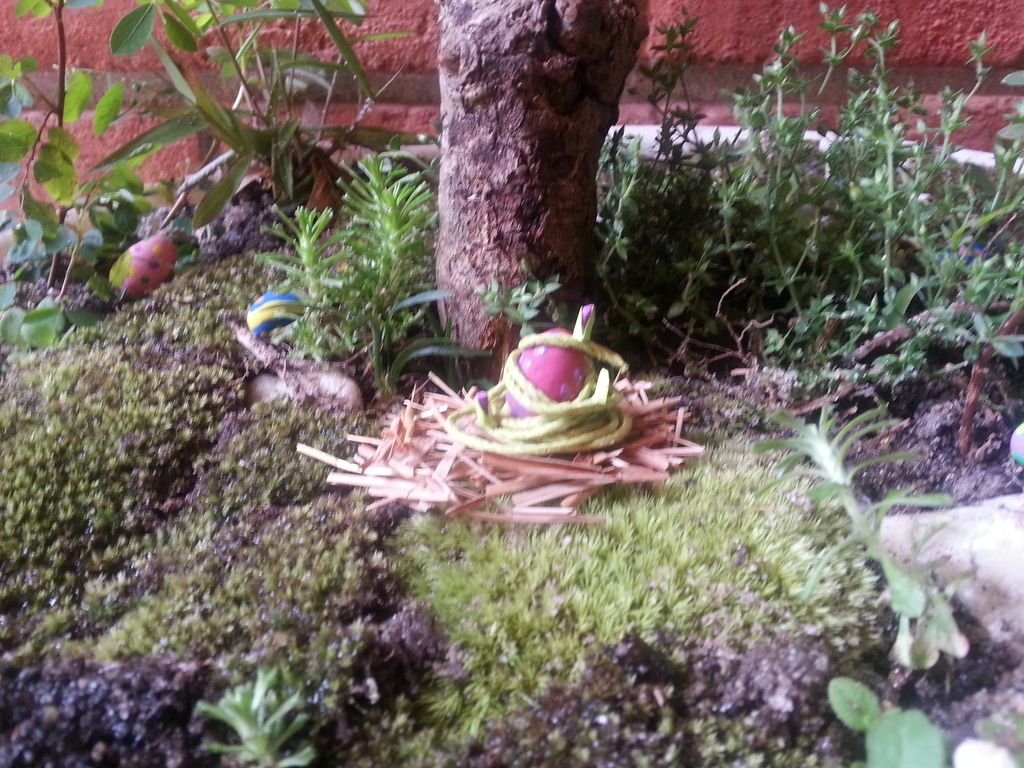
I originally wanted to make a diorama which would have been all made of artificial things but then I realized I could just use real plants. The idea became an easter egg hunt in miniature with a nephini egg surprise (if that works, if not another type of egg) in a nest by an ancient snag. I suppose it's actually a fairy garden but since it's meant to be more Sylestia scale I'll call it a Jinxie Garden!
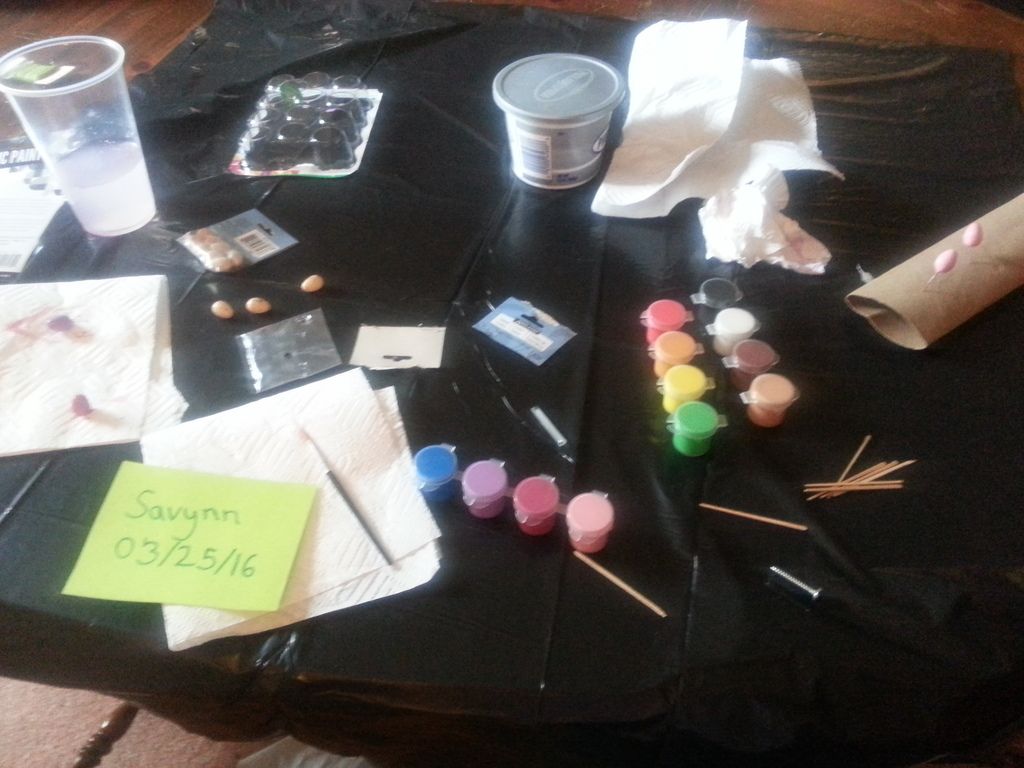
The Process
First I got some supplies. I thought with Easter on it's way I'd be able to find some eggs slightly larger than this but I ended up settling on some eggs found year round at the craft store where they sell the little fake birds. I got acrylic paint and had no idea if it'd really work out or not. But I figured if nothing else there's eggs in the fridge that I could use for a different idea if nothing else. I found some green cording that I thought would be nice for a nephini egg's vines.
I quickly discovered how hard it was to paint tiny eggs. Thankfully it didn't take long to realize I could use sewing needles. There were little tiny holes at the bottom of the eggs and I found there was just enough space to squeeze a needle in a bit. Then I squooshed an empty paper towel roll and made some tiny holes with needles so the eggs could sit there to dry. That cream cheese container in the picture is cleaned out and holds some sewing supplies.
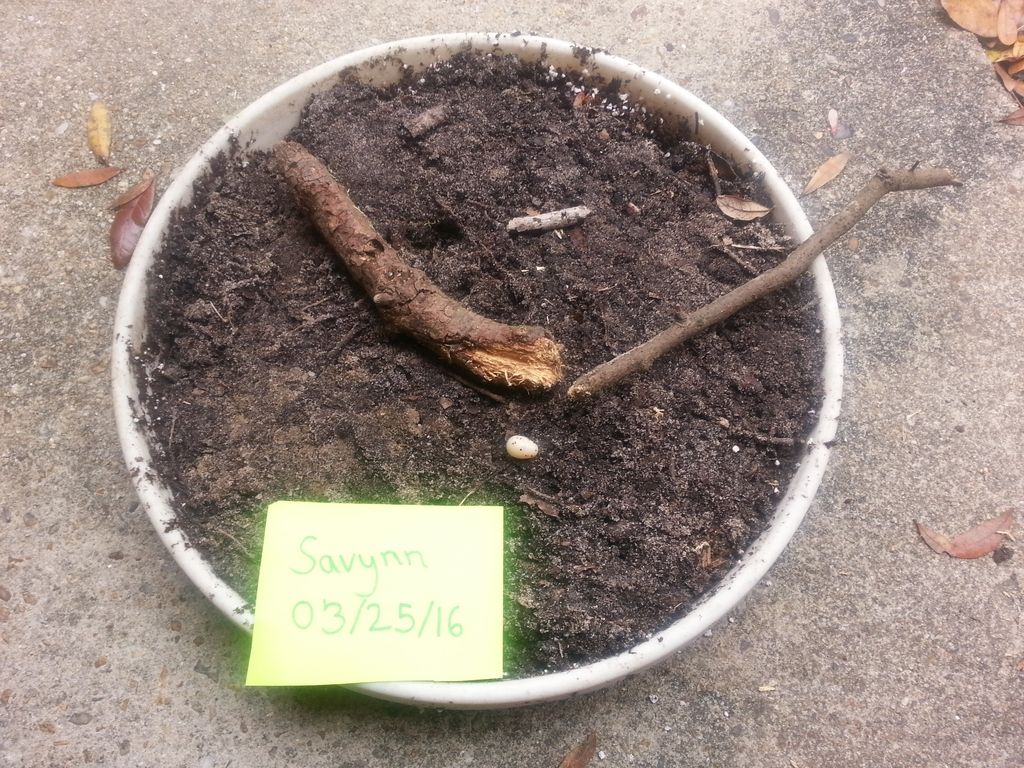
I went outside and found a tray I usually use for propagating succulent leaves. I went around looking for what would make a nice snag. I wanted to find something of at least a certain size. I finally found one that I thought could work and then because I didn't have a knife on hand for carving I just used a stick with a more sturdy end to work away to make more of a nook at the bottom of the "snag". The unpainted egg was used to compare sizes of objects.
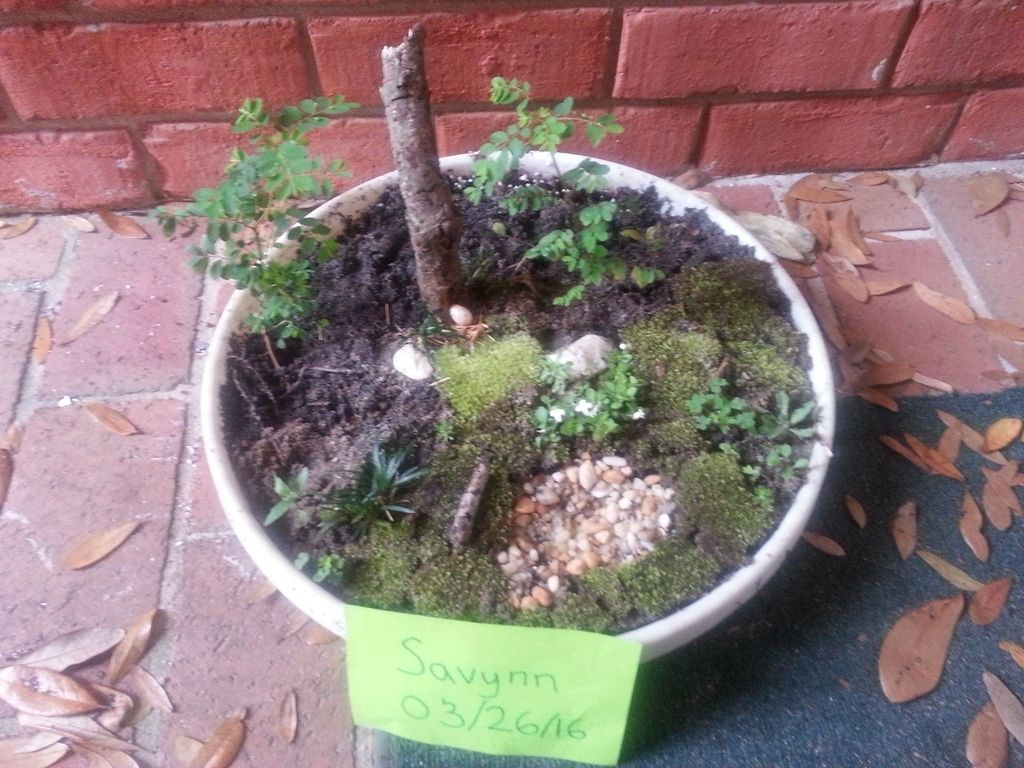
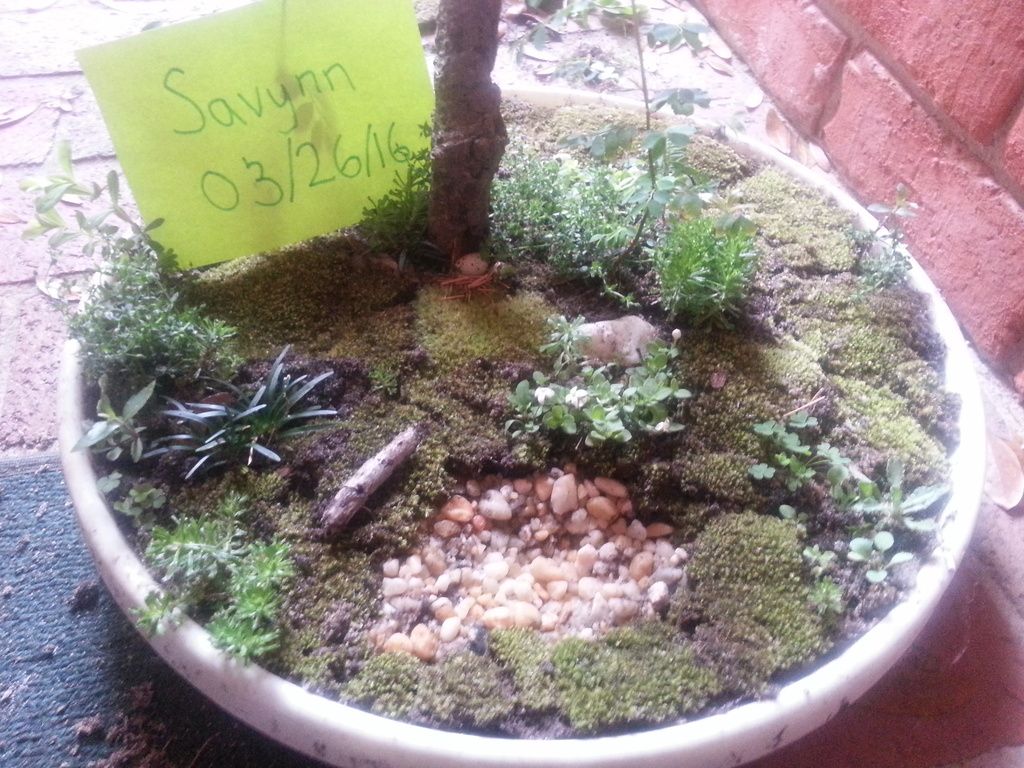
I knew there was going to be a lot of rain this weekend. So I took turns between painting eggs and working on Jinxie's garden. I don't have much to spend so I opted for trying to find plants in our yard that would be small enough to work. A lot of what I used was just wild growing plants. I also used some very tiny mondo grass. I found a little broken off piece of branch that I thought would make a nice log next to a pond that I made using some extra gravel I keep for succulents. I found a couple larger rocks to use as decoration and also started collecting moss to use as grass.
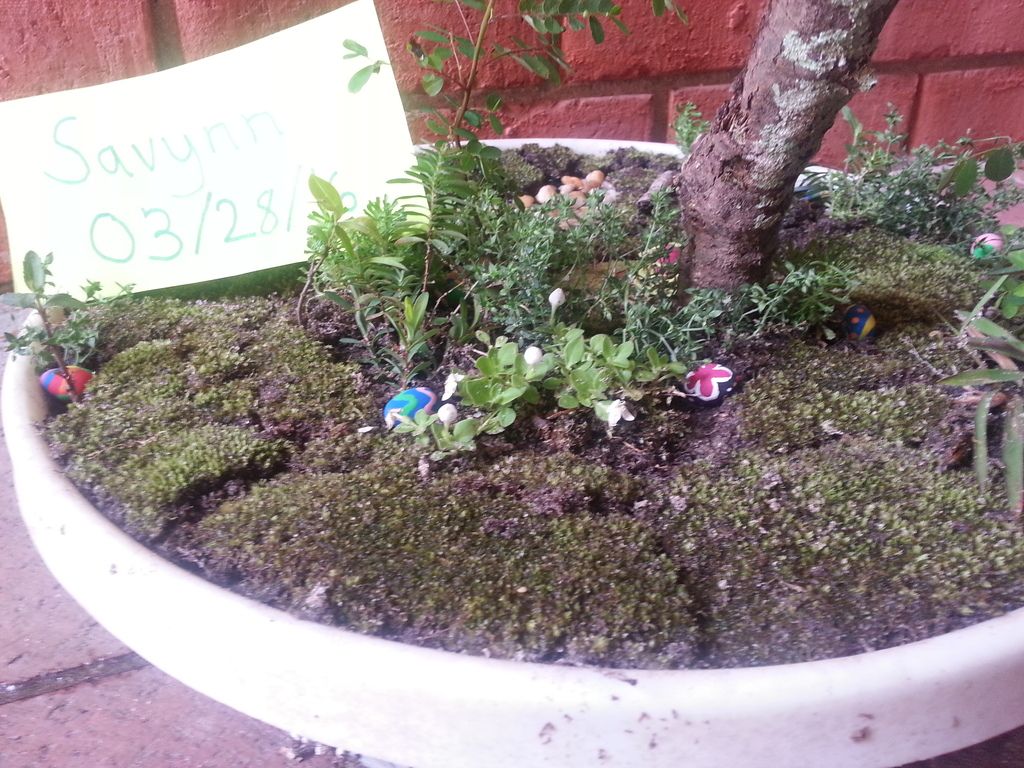
I finished the fairy garden for the most part.
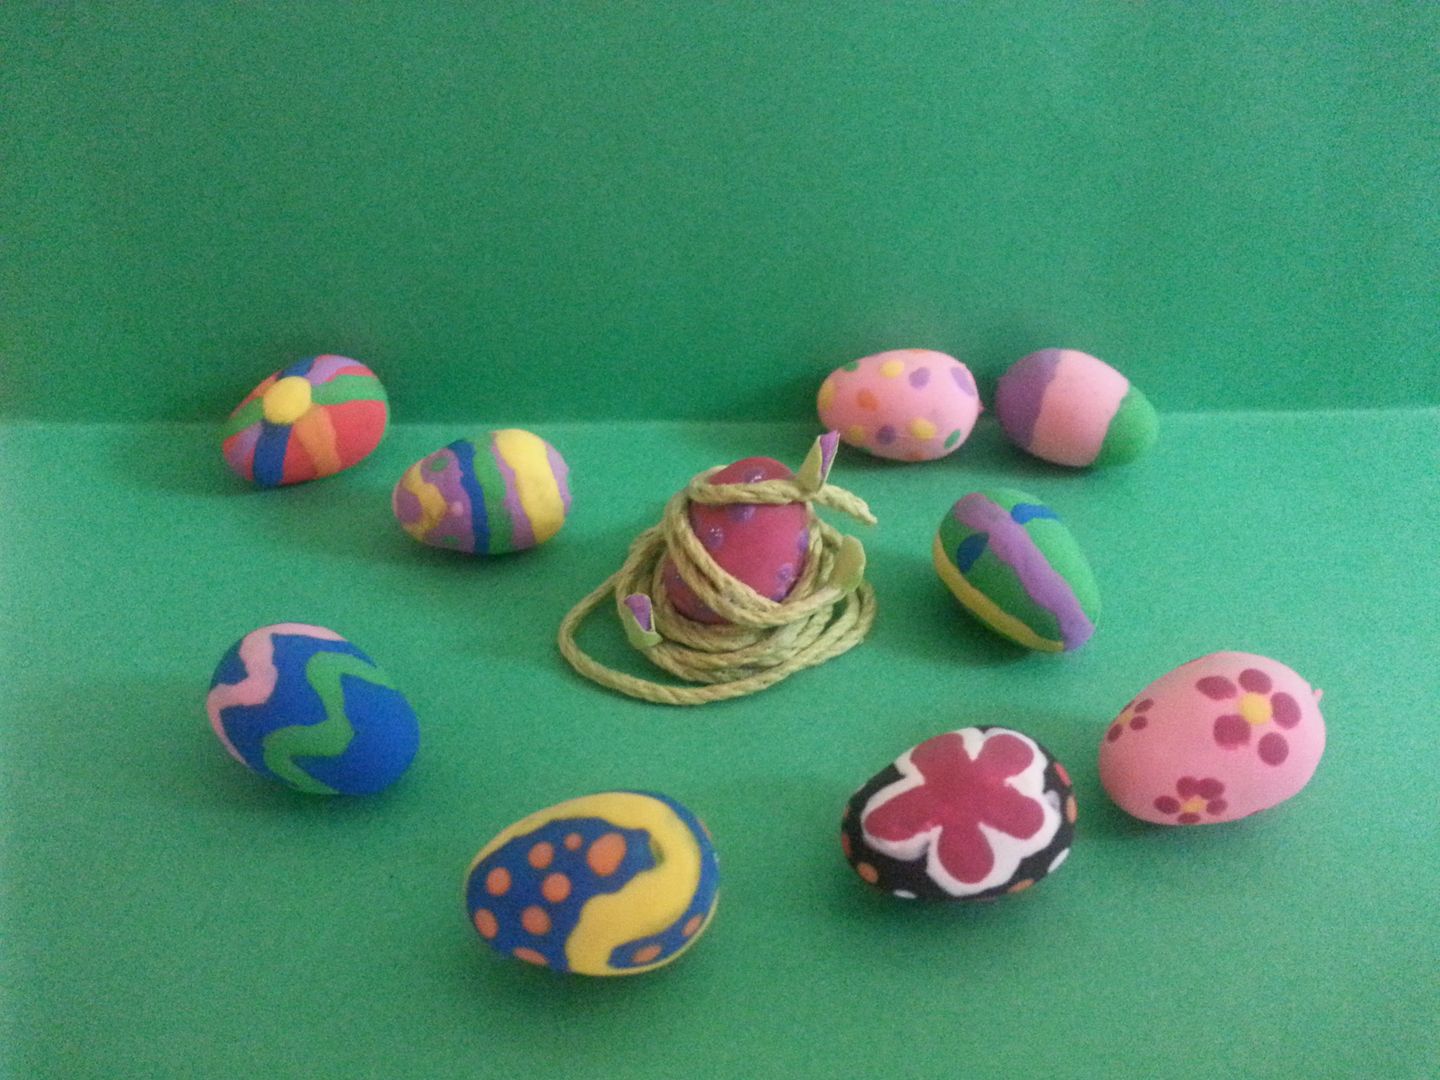
The egg I had painted red on the left side of the second picture ended up becoming the nephini egg. It's hard to see but I used some silver glitter glue on the purple painted spots that's supposed to be the gem-like parts of a nephini egg. I used the green cord as vines. And I took some foam purple foam material and green paper to make the flower buds.
Here's a group photo of painted eggs. I have a dear friend that really like these pretty black Czech Easter eggs and I tried to paint one of the eggs with that in mind.
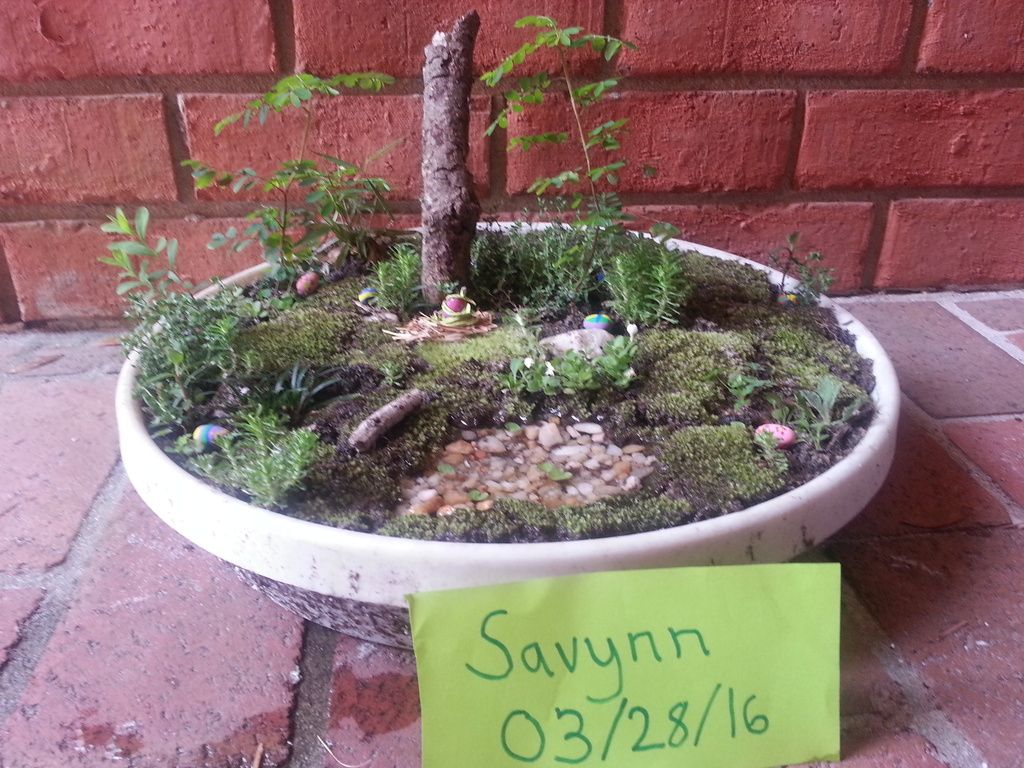
Finished
And the finished garden! I made a nest out of dried grasses for the nephini egg. And I found out dollar weed could float and if tiny enough could be used as water lily pads.
Edited By Savynn on 3/28/2016 at 4:39 PM.
Mysevin
Level 75
The Perfectionist
Joined: 12/26/2014
Threads: 8
Posts: 144
Posted: 3/27/2016 at 1:11 AM
Post #29
KaliOfDarknesss
Level 70
The Hallowed
Joined: 1/26/2015
Threads: 38
Posts: 1,135
Posted: 3/27/2016 at 1:16 AM
Post #30
Myse(vin) and I pooled our time and upper arm strength to make these eggs together! (I also had the only camera lol and I'm lazy.)
I chose to do a zone-find nest egg, and she chose to do a nice lighira.
We swear we didn't murder anyone (Myse) We just used food coloring! Lots of it. Also proof that we've got more than two hands dx
Our eggs together without flash.
Our eggs together with flash, looking even better!
And my eggy all on it's lonesome.
Go to Page:
1, 2, 3, 4, 5
Confirm Action
Are you sure you wish to delete this post?
Confirm Action
Are you sure you wish to restore this post?
Confirm Action
Are you sure you wish to report this post?
Go to Top
This Page loaded in 0.011 seconds.
Terms of Service | Privacy Policy | Contact Us | Credits | Job Opportunities